Conrad Monotype Press Manual
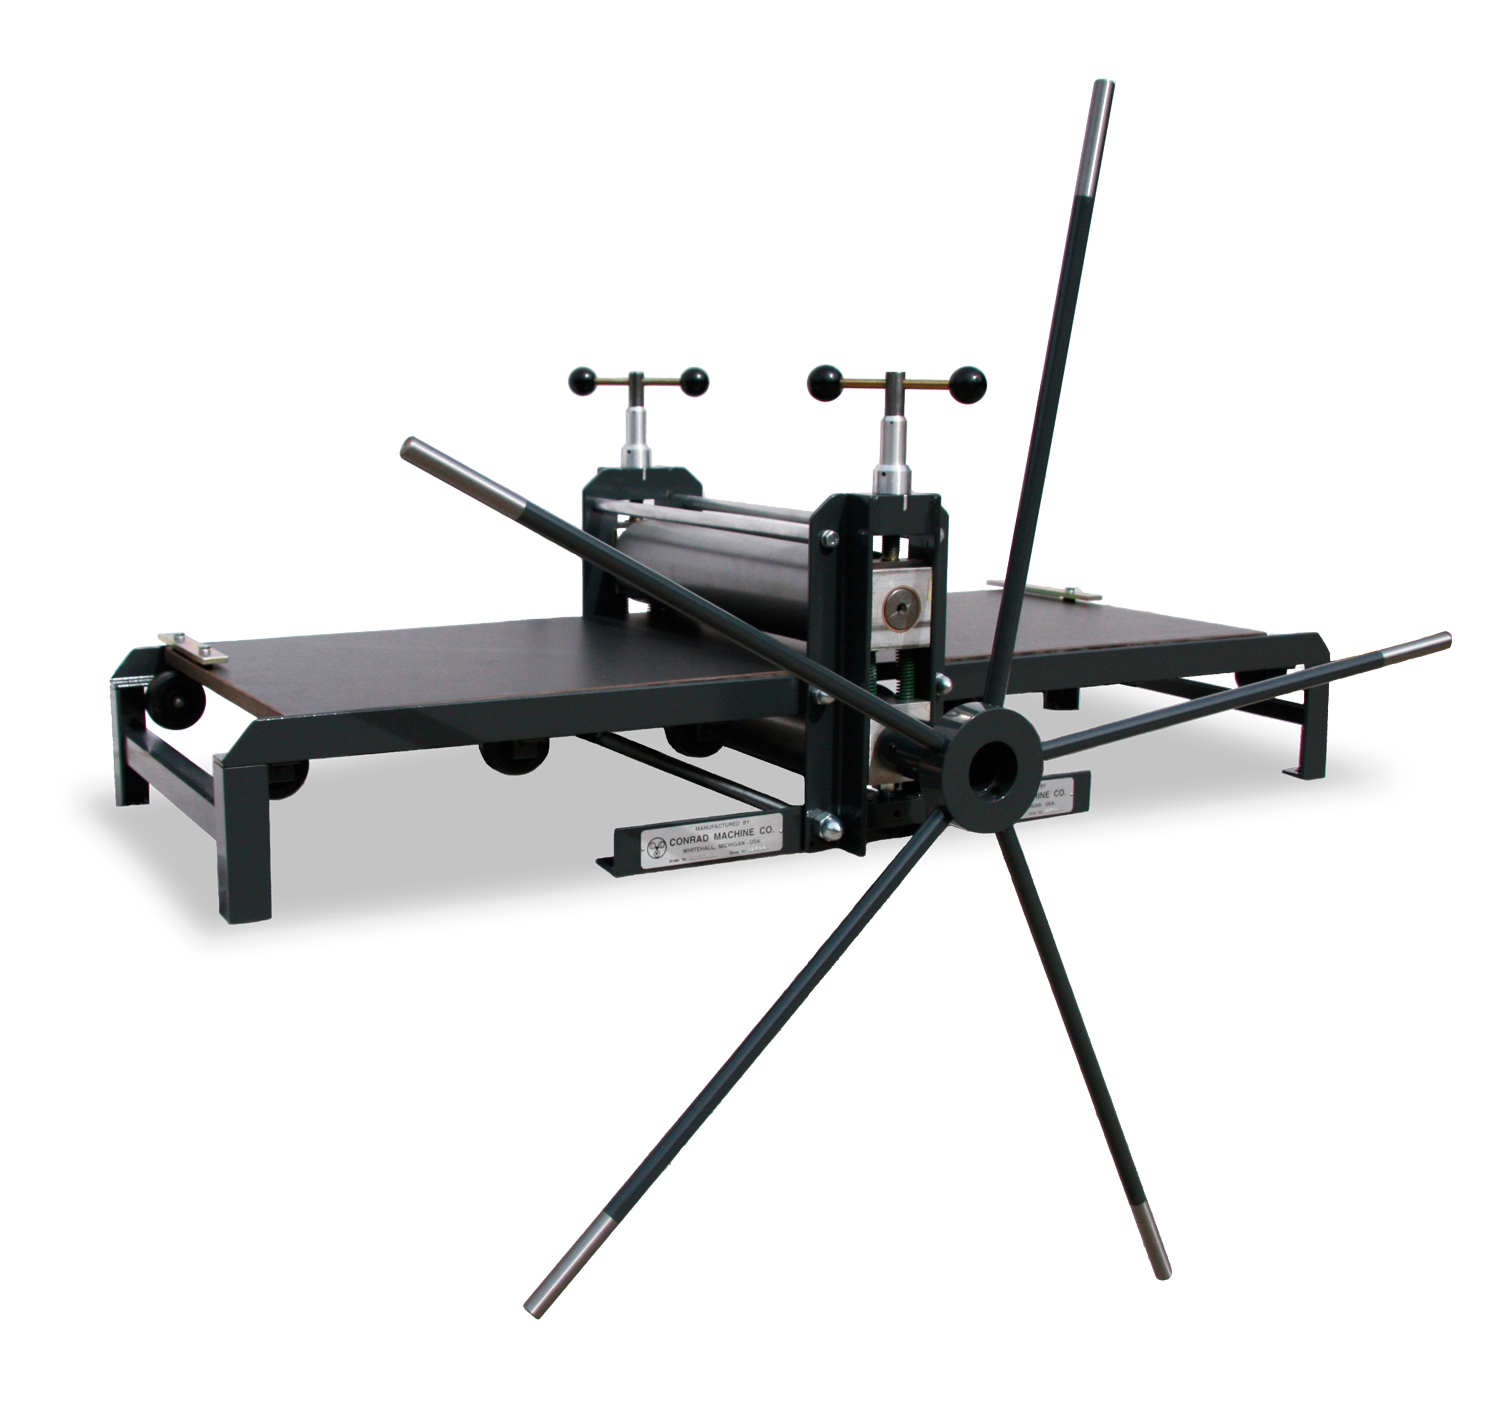
Manual.
Congratulations! You are the new owner of a Conrad Machine Co. Monotype Press. Conrad Machine Co. has been manufacturing professional etching and lithography presses since 1956.
As the oldest printmaking press manufacturer in the United States, Conrad is known for building reliable, high-quality presses for a wide range of printmaking processes. The monotype press is designed to provide smooth operation, consistent pressure, and excellent control, making it ideal for monotype and monoprint work.
Built with durability in mind, the Conrad monotype press is engineered to deliver years of dependable performance with minimal maintenance. Like all Conrad presses, it reflects a commitment to precision, quality, and long-term reliability.
Listed below are instructions for unpacking, setting up, and maintaining your Conrad Monotype Press.
Receive & Setup Your Monotype Relief Press
Open it up.
Unbox Your Monotype Press
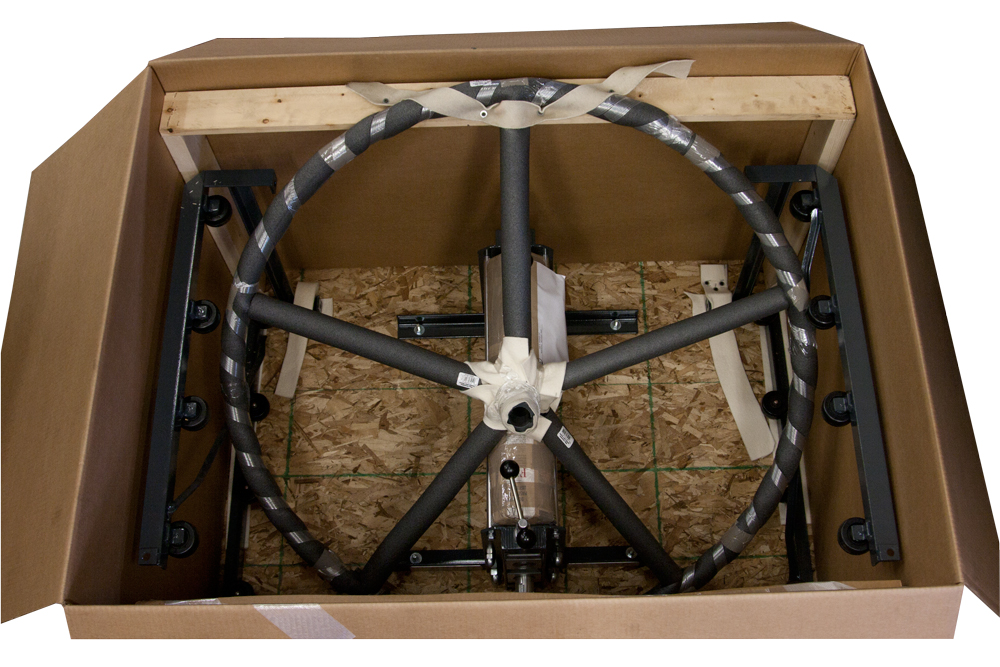
Your Conrad monotype press is shipped on a custom skid/palate and enclosed in a heavy, corrugated box. This box is stapled to the palate using furring strips. If your press is shipped with an enclosed star-wheel, you will need to open the top of the box and remove the enclosed star-wheel before proceeding. Take the star-wheel out of the box and set it aside until after the press is set up. If your monotype press shipped with a Conrad stand/workbench or felt blankets, both will be enclosed in the box and attached to the palate. After you remove the enclosed star-wheel, stand, and felts from the palate and box, you can use a pry-bar or crowbar to remove the stapled furring strips from the palate. After the strips are removed, you can easily lift the box off the palate and press
After your press box is removed, you will see the three items in your box: your press, out-riggers, and bed plate. Your Conrad Monotype press and out-riggers are securely bolted to the skid/palate. The out-riggers are also bolted together using tie-rods. The bedplate is securely tied to the frame. First, untie and remove the bedplate from the packaging and place it securely out of harms way. Second, remove the out-rigger tie-rods, so the out-riggers can be separated. Third, unbolt your out-riggers using an adjustable wrench and remove them from the palate. Now your press can be unbolted and removed from the palate.
Assemble Your Stand
Once your Conrad Monotype Press is unbolted and removed from the shipping pallet, it can be mounted to a Conrad press stand/workbench or another suitable table. Conrad stands are custom built to fit your press, providing proper support, stability, and a comfortable working height, along with space for inks and tools. Depending on your setup, you may choose to mount the press directly to the stand or use a sheet of plywood between the press and stand for added surface support.
If you are mounting the press to a table or bench other than a Conrad stand, make sure it is strong and stable enough to handle the weight of the press and the forces of printing. The press can be secured using bolts, screws, or clamps if desired. While the weight of the press often provides sufficient stability, fastening is recommended for added safety—especially during heavier printing. If the mounting surface is uneven, use shims at the corners to ensure the press sits flat and does not twist when tightened.
If your press is paired with a Conrad steel stand, follow the stand assembly instructions and place it on a level floor. Use a level to ensure the stand is even, confirm all legs are fully in contact with the ground, and tighten all hardware securely. The press can then be bolted to the stand using the same mounting holes and 5/16″ bolts that were used to secure it to the shipping pallet.

Set Your Press Up to Print
Bolting your press down.
Once your Conrad Monotype press is unbolted and removed from the shipping palate, your press can be bolted to the Conrad Monotype press stand/workbench or another suitable table. The Conrad Monotype press stand is custom made to fit your Monotype press and provides the optimal support for your press as well as additional space for your inks and other equipment. Some Monotype press sizes may require an additional sheet of plywood on top of the press stand. Either bolt your press directly to your stand or on the plywood. Please see the Monotype stand assembly page for more information about assembling your Conrad Monotype stand. If you are not using a Conrad Monotype stand, you must allow the drive to hang over the edge of the table to allow the star-wheel to turn.
Installing Monotype Press End-frames.
Once your press is bolted down, you can attach the out-riggers with the out-rigger pins. Simply, place the pin on the inside of the press frame and acorn nut on the outside.
Leveling your Monotype Press.
Superior press performance and precise printmaking requires a level surface. Place a bubble level across the base angle on both sides of lower roll. If you are using a Conrad Monotype stand, leveling your press is quite simple. You can place small shims underneath the feet of the stand until the press frame is level. If you are using an alternative table, you may need to loosen the frame bolts and place small shims under corners of the press frame and end-frames in order to level the frame. To check how level your press end-frames are by placing a level across the ends of frames on both sides. You can now bolt down end frames to the table; however, this is not necessary as long as the main frame is bolted to table.
Installing Monotype Press Bedplate
After your Monotype press is leveled, you are ready to install the bedplate. Before you move the bedplate, raise the upper roller to allow sufficient room to clear the bedplate. The bedplate safety stops are attached to the bedplate when it ships but are not completely installed. Carefully, remove the one bed stop with instructions attached to it. Place the bedplate on the end frame with the bed stop on top of the bedplate. Carefully, roll the bedplate through the press and follow the instructions for attaching the bed stop. Both bedplate bed stops should be tight and securely bolted to the press bed.
IMPORTANT: Do not operate any Conrad Monotype press without properly installed bedplate stops.
Testing the Bedplate
Once the bedplate and bed stops are installed, you can test the bed by rolling it through the rollers. The bedplate should hit the rollers on the end frame evenly. This is a sign that the press is level. When the bedplate is centered on the lower roller, it should teeter back and forth similar to a teeter-totter. A small amount of teeter is idea for the best printing performance.
Installing an Open spoked Star-Wheel
If your Conrad Monotype press has a open spoked star-wheel, you will need to install the spokes once the press is set up. Your Monotype press’ open spoked star-wheel hub will already be installed on the drive shaft. You will have to install the spokes in the hub. Simply take your spokes and screw them into the star-wheel hub until tight.
Installing a Enclosed Star-Wheel
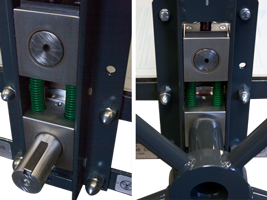
If your Conrad Monotype press has a enclosed star-wheel, you will need to install it. After your press is completely set up, you can remove the setscrew that is in the hub of your enclosed star-wheel. Now the enclosed star-wheel is ready to be installed on your press. Take the star-wheel and line up the hub with the key of the drive shaft of the lower roller. Slide the star-wheel hub on the shaft and screw the setscrew in tightly.
Ready to Print
Now your press is all set up and ready to print!
Monotype Press Maintenance
Keep it Printing.
Your Conrad Monotype press requires minimal care and maintenance in order to maintain optimal performance. The most important area of maintenance is oiling and lubrication.
Lubricate Bearings
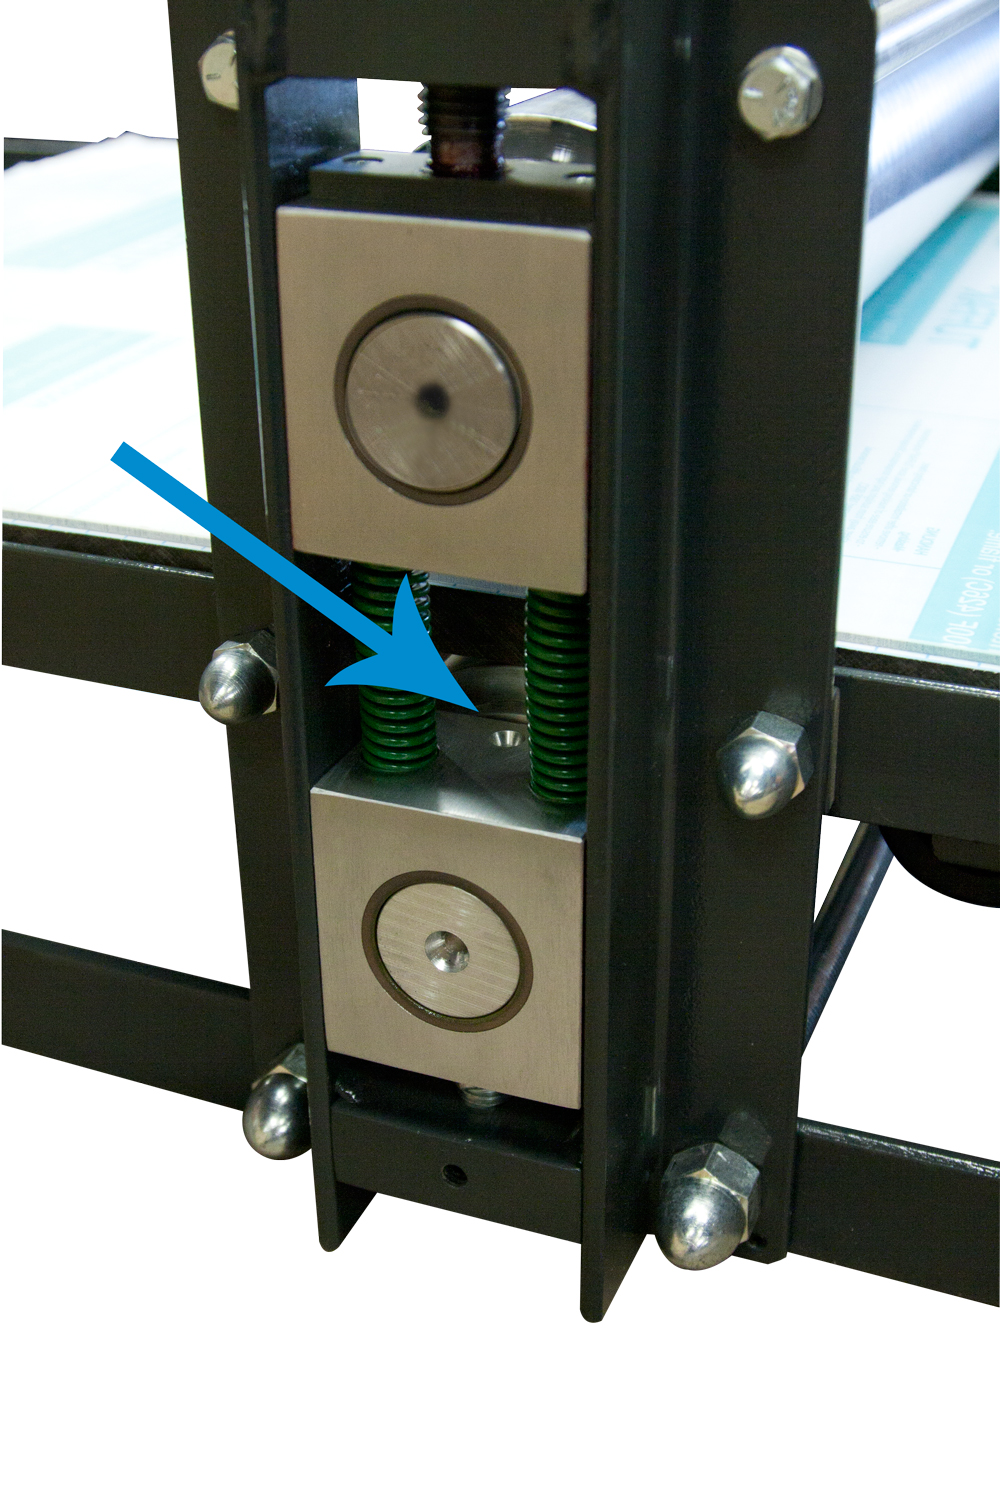
All Conrad Monotype presses bearing blocks need to oiled at least once a month. Simply, drip three to four drops of 30-weight motor oil in each bearing block oil hole. Rotate the rolls after the oil is applied.
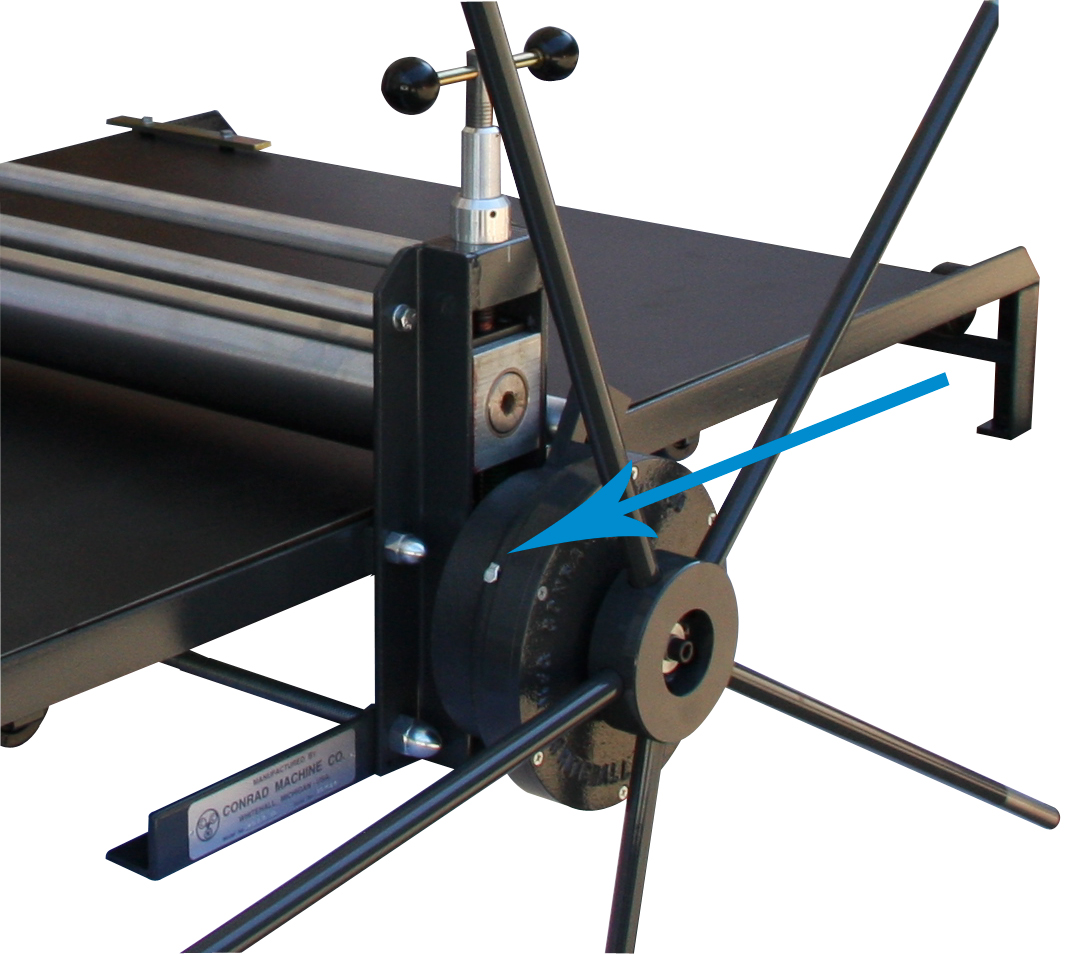
Oiling a Gear Driven Monotype Press
There are a several areas on your press that should be lubricated on a regular basis.
If your press has a gear drive, you should oil the gear drive once every five to six months. Only a small amount of oil is required because the gear housing is closed. Simply take an oil can filled with standard 30-weight motor oil and squirt one to two full squirts in the oil hole located on the side of the gear drive housing. Also on a gear driven press, the upper roll needs to be greased once every six months on the drive side where the shaft rotates in the drive stop bar with petroleum-based grease.
Lubricate Pressure Screws
The pressure screws and the upright columns should be kept coated with a light grease applied with a small paint brush to prevent corrosion and to assure smooth operation.

Press Maintenance
Polishing Rollers
Keep your etching press clean and away from water. Try to keep water from coming into contact with the roller. If your Conrad Etching press does not have chrome rollers, you may want to keep a light coating of oil on the exposed steel surfaces. You can accomplish this by keeping a tacky cloth, lightly oiled rag, handy. At the end of each day, wipe down the exposed steel surfaces including the rollers. Make sure to wipe off any excess oil on the roller before you begin printing, so the oil doesn’t interfere with your printing or stain your felts.
As you use your press, the rollers will gradually become dull and stained. Don’t worry; light staining or rusting on the surface is fairly common in humid and will not affect the proper operation of your press. You can clean, polish, and remove discoloration on your press rollers with fine steel wool or “scotch brite” pads. If you are going to store your press for any extended period of time, we recommend putting some type of oil-based preservative on the rollers to keep them from corroding and rusting while in storage.
Press Accessories
Monotype Press Essentials.
Don’t forget about the press accessories.
We make tons of cool supplies and accessories that go hand in hand with your press.
Press Stand / Workbench
Shop Press Stands

Printmaking Felt Blankets
Shop Felt BlanketsRegistration Grid & Protective Bed Cover
Shop Felt Blankets

Printmaking Supplies
Explore all the printmaking supplies you need to fill out your studio.
